

Ballons Translator

- Fully automated translation
- Support automatic text-detection, recognition, removal(cleaning), and translation.
- Image editing
- Support mask editing & inpainting (something like spot healing brush tool in PS)
- Adapted to images with extreme aspect ratio such as webtoons
- Text editing
- Support rich text formatting and text style presets, translated texts can be edited interactively.
- Support search & replace
- Support export/import to/from word document

Installation Windows
(If you don't want to install Python and Git by yourself and have access to the Internet)Download BallonsTranslator_dev_src_with_gitpython.7z from MEGA or Google Drive, unzip it and run launch_win.bat.
Usage
1.- Load Directory Images
2.- set in options, Translator
3.- Click the Run button and wait for the process to complete.. (check Enable Text Dection, OCR ,Translation, Inpainting)
4.- Check new folder "result" in your directory images (step 1)

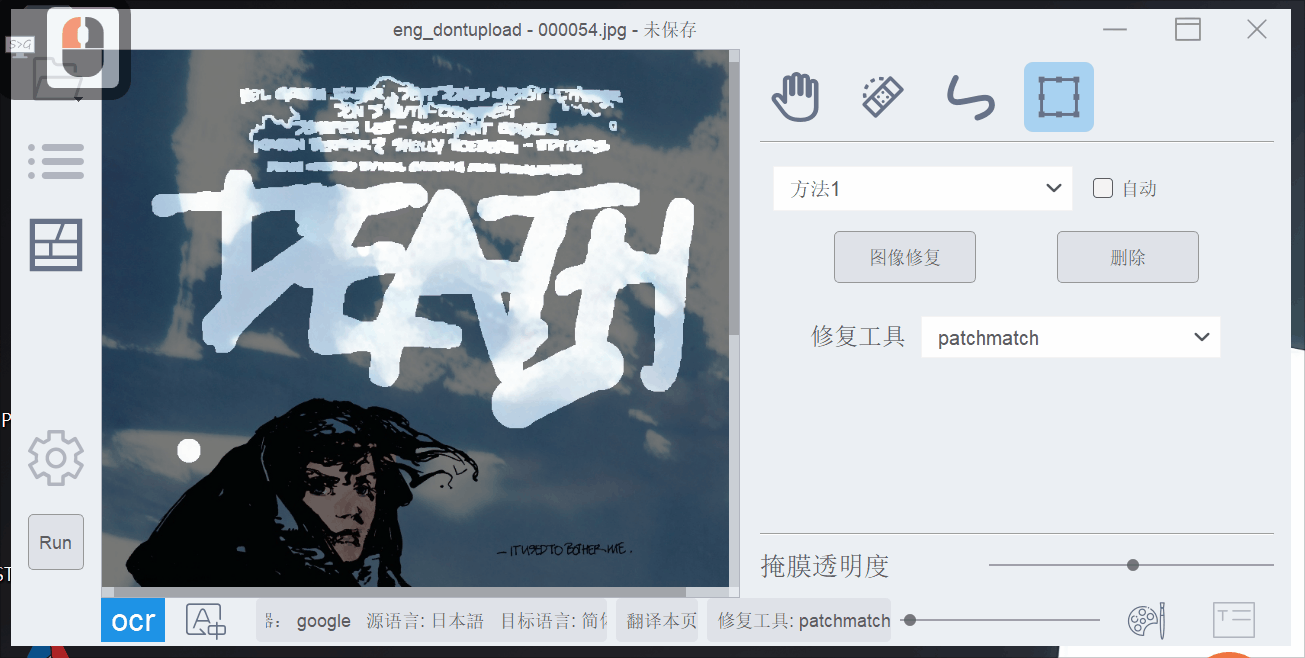
Inpaint
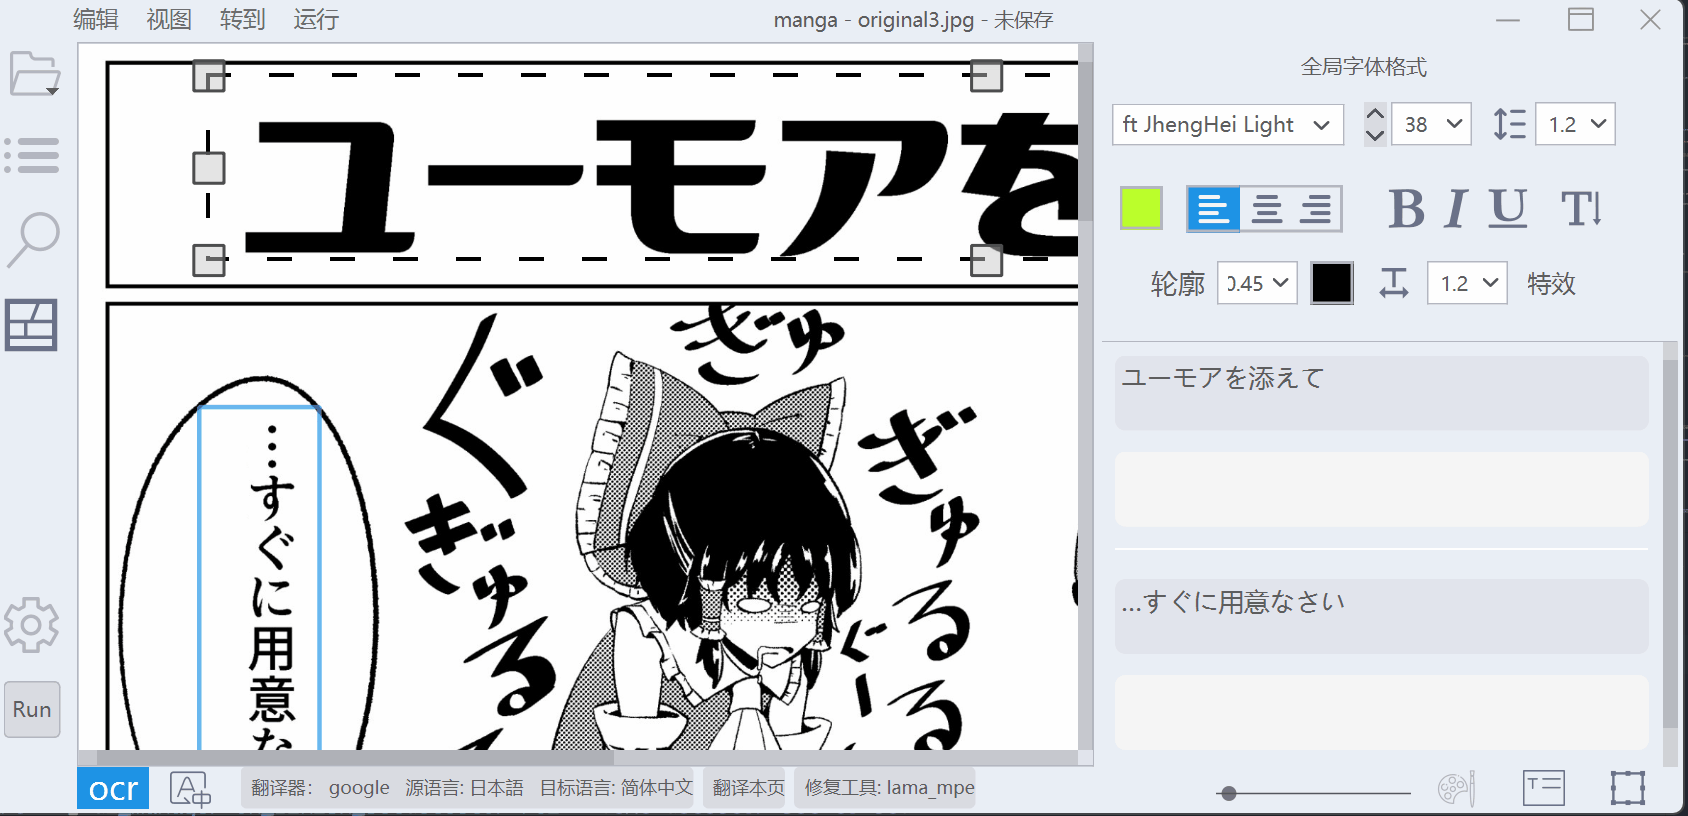
OCR (regions)
Last edited:


